Who hasn’t dreamt of becoming an Overwatch pro, making those perfect headshots with ease, and leading their team to victory? We know we have! But it’s not just about dreams; it’s about the practice that turns them into reality.
In the world of Overwatch, accuracy is key. It’s the difference between a missed shot and a game-changing play. That’s why we’ve compiled a list of aim training tips and drills that’ll help you take your game to the next level.
So, ready to stop being the target and start making the shots? Let’s dive into the world of Overwatch aim training and turn you into the player you’ve always wanted to be.
Understanding the Basics of Aim in Overwatch
Transitioning from aspiration to achievement in the world Overwatch involves grasping the fundamentals of aim. With this understanding, aspiring professionals stand a better chance to make considerable strides in their gameplay.
Types of Aiming Techniques
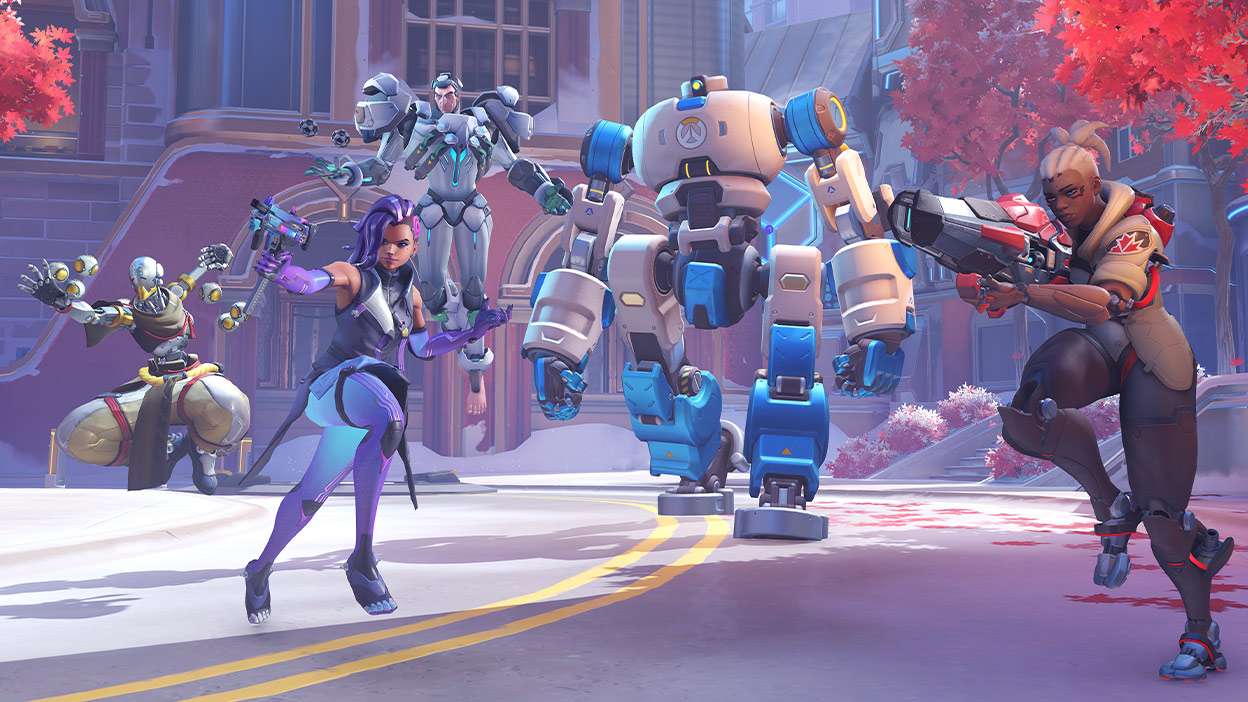
Mastery in Overwatch involves acquainting yourself with its various aiming techniques. Two predominant techniques players employ are “tracking” and “flicking.” Tracking refers to keeping your crosshair on an enemy for extended periods, an effective technique against heroes with larger hitboxes, for instance, Roadhog or Winston. Contrastingly, flicking involves quick, precise movements to reach your target, typically used by heroes like Widowmaker and McCree. To enhance these skills, many players turn to tools such as the Overwatch aimbot hacks featured on Battlelog. Both of these techniques serve different heroes optimally, and it’s up to each player to find their groove with each.
Importance of Sensitivity Settings
Equally significant in your journey to superior aim in Overwatch is the role of sensitivity settings. These settings dramatically influence your ability to effectively track or flick. Too high, players risk overcompensating and missing targets, too low could lead to slower aim speed and make tracking difficult. The trick lies in finding your unique sweet spot, a sensitivity setting that optimizes your comfort, control, and precision. Recommended starting values range between 400-800 eDPI (Effective DPI), adjusting up or down based on your experiences will assist in honing this important aspect.
Essential Aim Training Tips for Overwatch
Diving deeper into Overwatch aim mastery, this section presents essential tips that can significantly influence your game performance. Let’s now get into discussing the immediate steps you can follow to improve your aim in Overwatch.
Finding the Right Gear
Equipment significantly influences gaming experience and performance. When choosing gear, consider both comfort and functionality. It’s not always about buying the most expensive equipment; what matters is how much it aids your gameplay.
For example:
Mice: A mouse with adjustable DPI (dots per inch) settings is ideal for Overwatch. It’s control, precision, and how it fits in your hand matter more than its price or brand.
Mousepad: A large mousepad with consistent surface texture allows for better control and extensive mouse movement.
Keyboard: Opt for a keyboard with keys that are comfortable to press and not too stiff or loose. In gaming, every millisecond counts!
Monitor: A monitor with higher refresh rates (120Hz or 144Hz) offers a smoother gaming experience. Reducing screen tearing and motion blur can make the aiming process more accurate.
Customizing Your Settings
Beyond equipment, another critical factor affecting your aim is the game settings. Customizing these settings can produce significant improvements in your aim technique.
Sensitivity: It’s vital to find a balance between too high (more inaccurate but quicker movements) and too low (more precise but slower movements). Start with a medium sensitivity level, adjusting this value as per your comfort.
Aim Technique: Overwatch offers three aim techniques: Dual-Zone, Exponential Ramp, and Linear Ramp. Selection depends on factors like your gaming style, hero selection, and gear setup.
Reticle: Choose a pattern which doesn’t obstruct your vision, and colour that contrasts with many levels. Adjust its opacity to avoid it being too distracting.
Display: Reduce the game’s graphical settings to increase the frames per second (fps). A higher fps means smoother gameplay, crucial for precise aiming.
Remember, these settings might require tweaks and adjustments over time. What works for one might not work for others. It’s about finding your personal comfort zone and fine-tuning it as you progress.
Effective Overwatch Aim Drills
Years of experience identify three drills imperative for mastering Overwatch: tracking, flick shots, and projectile prediction. In each section, we dig into popular exercises recommended by professionals, augmenting aim acuity in all Overwatch heroes.
Tracking Drills
Focusing on following your opponent’s movement, tracking drills allow for constant fire. A popular drill involves creating an AI game, ideally with Lucio bots. Set your hero to a tracking-based one like Soldier 76, turning the “headshots only” setting on. This method, presenting itself as a challenging situation, lets you practice for hours without killing any bots. Your ultimate score here equals your accuracy percentage on the training result screen.
Flick Shot Drills
Flick shots, contrasting from tracking, involve sharp, rapid mouse movements to an enemy. Select a hero like Widowmaker or McCree for such drills. Again, create an AI game with bots – static ones work great here. For each round, try hitting headshots practicing flicks from various angles. Keeping always at differently distanced targets renders robust training. The objective is to perfect flicks within a frame of 100ms (milliseconds).
Projectile Prediction Drills
Involving forecasted attacks, projectile prediction is key for heroes like Pharah or Hanzo. For these drills, set to a custom game. Opponent moving speed must be set to 130-150%. Heroes with rapid movements, like Tracer, Genji, or Lucio, make it perfect to train against. Your personal count of consisent hits determines success here, increasing with proper practice. Remember – each hero’s projectiles differ – it’s crucial to adapt to individuality.
We comprehend how daunting perfecting aim might seem initially. With patience, and regular drills outlined above, you’ll notice sizable improvements over time. Remember, aim isn’t the be-all and end-all, game sense and strategy also play crucial roles. So, keep balance while stepping up your Overwatch game.
Implementing Practice Routines
After acknowledging the core drills for mastering Overwatch aim, it’s time to introduce practice routines. This section delves into how to effectively execute these drills and fosters a significant improvement in Overwatch aiming skills.
Daily Routine Tips
Incorporate the drills into a daily routine. It’s crucial to establish a regular practice schedule. Sticking to consistency raises proficiency and accuracy. Begin by practicing each drill for 15 minutes. As time progresses and skills improve, gradually increase each drill’s duration.
For instance, tracking drills require a player to keep their crosshairs on moving targets. Engaging in an activity such as moving and aiming at bots in the practice range maps—in the presence of various character movements— for 15 minutes a day sharpens this skill.
The same applies to flick shots and projectile prediction drills. Regular, dedicated practice translates to noticeable improvements. However, remember, break intervals encourage retention and avoid overwhelming. Balancing practice sessions with rewarding playtimes makes the exercise enjoyable and effective.
Incorporating Varying Levels of Difficulty
Utilize the custom game settings to alter the levels of difficulty in the drills. Adjusting character speed or hitbox size introduces variation, enhancing adaptability and aiming skills under different conditions. For example, configuring bots’ movements to a higher speed during the tracking drill exercises a player’s ability to maintain aim under swift target movements.
Another level of difficulty escalation involves removing the headshot hitmarkers, especially during flick shot drills. This discourages reliance on visual indicators and encourages instinctive aiming for the target’s head location. Variety of difficulty ranges tests and refines aiming skills, ensuring a player is well-equipped to handle any gameplay scenario in Overwatch.
By implementing these routines and gradually raising the level of difficulty, a player evolves their Overwatch aiming skills, drives their performance higher, and scores more victories.
Advanced Techniques to Improve Aiming
Let’s now dive deeper into the world of advanced aim enhancement techniques. It’s paramount to remember that harnessing these strategies will not only hone your aim in Overwatch but elevate your gameplay, giving you an edge over competing players.
Using Aimbots and Aim Trainers
Aimbots and aim trainers, they’re tools not to be overlooked. By putting them to good use, they offer a structured training platform to sharpen your aiming skills. Aimbots, while controversial, provide you an opportunity to understand the game’s aiming mechanics better. On the other hand, aim trainers like Aim Lab or Kovaak’s boost your aim precision by presenting scenarios that mimic typical Overwatch situations. Furthermore, they afford extensive analytics that spotlight problem areas, guiding your training regimen efficiently.
Learning from Professional Players
Following seasoned professionals online could help you bag plenty of advanced Overwatch aim tactics. Often, these pros share helpfully detailed content like guides, tutorials, and live gameplay on platforms such as YouTube and Twitch. By setting aside time to observe how they navigate difficult scenarios, land those demanding headshots, or the precise moments they choose to aim or fire, one can glean valuable techniques. But remember, not all tactics fit every player’s style – ensure you tailor them to match your gameplay for maximum benefit.
Conclusion
We’ve covered a lot of ground on Overwatch aim training, from mastering techniques like tracking and flicking, to adjusting sensitivity settings for each hero. We’ve underscored the importance of gear choice and game settings customization for better precision. We’ve also introduced you to the three vital drills: tracking, flick shots, and projectile prediction.
We’ve stressed the importance of a daily practice routine, gradually upping the ante with increased drill durations and difficulty levels. We’ve highlighted the value of advanced tools like aimbots and aim trainers. We’ve nudged you towards learning from the pros on platforms like YouTube and Twitch.
When you combine all these strategies, you’re set to enhance your Overwatch aiming skills, take your gameplay to the next level, and gain that competitive edge. So, let’s get those gears rolling and start hitting those targets with precision!